

On my last post, I told you about the plans for our front porch. Originally this space was just another flower bed. Well, maybe not just another flower bed, more like a jungle, with it's own ecosystem. After just a few months of living here, we tore our the flower beds and just had a plot of dirt where the plants used to be. We knew all along that we wanted a porch there, but had no idea how to go about it. We knew we wanted pavers, but were overwhelmed by the costs and work involved with that. We have thought about pea gravel, cement, cement molds, you name it.
We ended up settling on these 16x16 pavers. We love them because they are all one piece, which means less work and less up-keep than the smaller ones. Plus, they have deep rivets in them so you can put the sand in them, making them look like we worked a lot harder than we did. (PS... shout out to my father in law, Bobby for all that he did to help us this weekend, as well as my mom for helping take care of the kid, and carting me to Lowe's for some extra stuff we needed.)
Sorry in advance for not having step by step pics.

Here is what we did to make it happen:
1) Prep the ground. This was actually done a long time ago, when we pulled all of the bushes out, thus leaving an empty pallet.
1a) Part of prepping the ground also includes leveling it, and packing the dirt to avoid shifting. They make tools that you can rent to make the job a little easier, but my FIL and Chris did it the old school way, by pounding a cinder block over and over again.
2) Paver sand base. We didn't have to do a lot of this since we live in FL, and already have sandy soil. But the good thing about the special paver sand is that its more like crushed rock, will likely prevent everything from sinking and moving around.
3) Paver base. Not sand. This is like a thick styrofoam that keeps everything level. It also won't absorb water, which is good.

4) Pavers. The pavers we used have a similar pattern to them, but not exactly the same. So we were able to make them look a little more hodge-podge than if we just used straight bricks. Really, how you do it is up to you, just as long as you keep with it, and don't change your mind in the middle of your project.
5) Paver sand base.... again. This is going to keep the pavers from shifting more, and also makes it look like cement between bricks. This step isn't all the way complete for us. We put some down, and wet it and let it dry, and we are going to be mixing some sand and Seal-Krete to put in between the cracks, so that we aren't sweeping up sand and re-packing for the rest of our lives.

6) Seal-Krete. When the last step is done, we will be putting Seal-Krete over the whole porch to keep the whole thing sealed. It's best to do this, so the cement stays dry, and doesn't wear down or have mold issues. This will also help keep grass and weeds from showing up between the pavers.
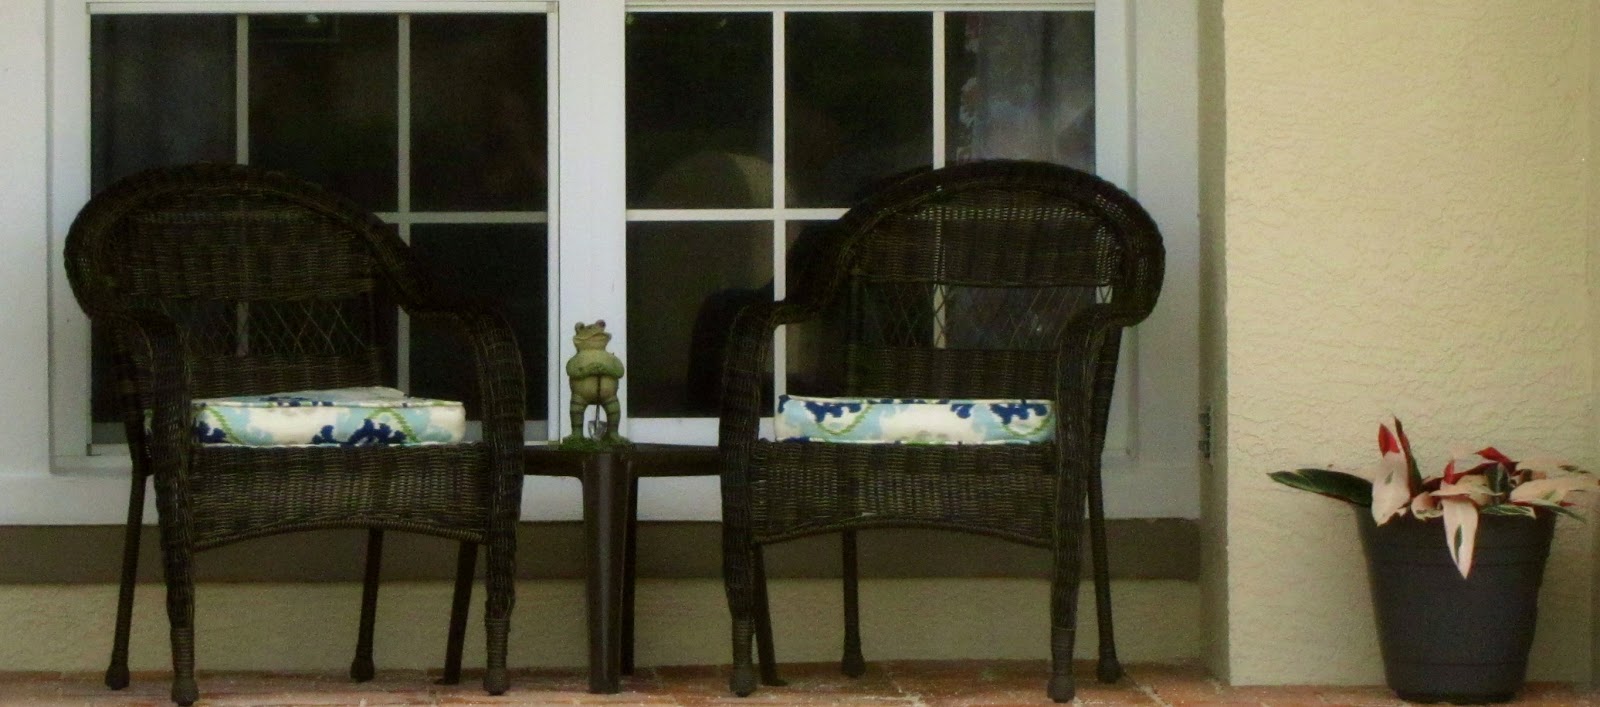
7) Decorate. I don't have it just the way I want it just yet. We will likely be adding some lighting above the porch, and maybe a nice wall sculpture.

Notes: Pavers are heavy. I don't mean like over time, they are difficult to handle, or maybe you will be sore the next day. These things are like 40 lbs. It was quite comedic when we were buying them, and trying to get them through the store, onto the truck and off again. Not to mention pinched fingers.
In case you wonder: The pavers, paver base and sand cost us about $450 for a little bigger than 7x10 area. The pavers were $4.96 a piece, or $2.68 per square foot.
I don't regret our decision to do this at all. Last night we sat out their with my parents, watching Alyssa play through the grass while the sun went down, and the orange blossoms were potent!

One more thing to add. Over in the opposite corner, we had a sort of straggly plant there. I have always wanted a Bougainville, but it is super thorny, so we would always be trying to get Alyssa to stay away from it, and pruning can be a bear, not to mention very painful. I was at Lowes the other day and found this Bleeding Hearts Vine. It resembles, and will continue to resemble a Bougainville, without the thorns. Just a little tip from me, because I was excited about it. The only bad thing is that it is pretty picky. It doesn't like moist soil, but also doesn't like the sun. I put it there, because it is the perfect spot, and I'm hoping I can keep it going. And the trellis that I am using was only $8. Score!

Tata,
Emily


No comments:
Post a Comment