Showing posts with label DIY. Show all posts

Monday, February 25, 2013

My New Front Porch!


On my last post, I told you about the plans for our front porch. Originally this space was just another flower bed.  Well, maybe not just another flower bed, more like a jungle, with it's own ecosystem.  After just a few months of living here, we tore our the flower beds and just had a plot of dirt where the plants used to be.  We knew all along that we wanted a porch there, but had no idea how to go about it.  We knew we wanted pavers, but were overwhelmed by the costs and work involved with that.  We have thought about pea gravel, cement, cement molds, you name it. 

We ended up settling on these 16x16 pavers.  We love them because they are all one piece, which means less work and less up-keep than the smaller ones.  Plus, they have deep rivets in them so you can put the sand in them, making them look like we worked a lot harder than we did.  (PS... shout out to my father in law, Bobby for all that he did to help us this weekend, as well as my mom for helping take care of the kid, and carting me to Lowe's for some extra stuff we needed.)

Sorry in advance for not having step by step pics. 


Here is what we did to make it happen:

1) Prep the ground.  This was actually done a long time ago, when we pulled all of the bushes out, thus leaving an empty pallet.

1a)  Part of prepping the ground also includes leveling it, and packing the dirt to avoid shifting.  They make tools that you can rent to make the job a little easier, but my FIL and Chris did it the old school way, by pounding a cinder block over and over again. 

2) Paver sand base.  We didn't have to do a lot of this since we live in FL, and already have sandy soil.  But the good thing about the special paver sand is that its more like crushed rock, will likely prevent everything from sinking and moving around.

3)  Paver base.  Not sand.  This is like a thick styrofoam that keeps everything level.  It also won't absorb water, which is good. 


4) Pavers.  The pavers we used have a similar pattern to them, but not exactly the same.  So we were able to make them look a little more hodge-podge than if we just used straight bricks.  Really, how you do it is up to you, just as long as you keep with it, and don't change your mind in the middle of your project.

5)  Paver sand base.... again.  This is going to keep the pavers from shifting more, and also makes it look like cement between bricks.  This step isn't all the way complete for us.  We put some down, and wet it and let it dry, and we are going to be mixing some sand and Seal-Krete to put in between the cracks, so that we aren't sweeping up sand and re-packing for the rest of our lives. 


6) Seal-Krete.  When the last step is done, we will be putting Seal-Krete over the whole porch to keep the whole thing sealed.  It's best to do this, so the cement stays dry, and doesn't wear down or have mold issues. This will also help keep grass and weeds from showing up between the pavers.

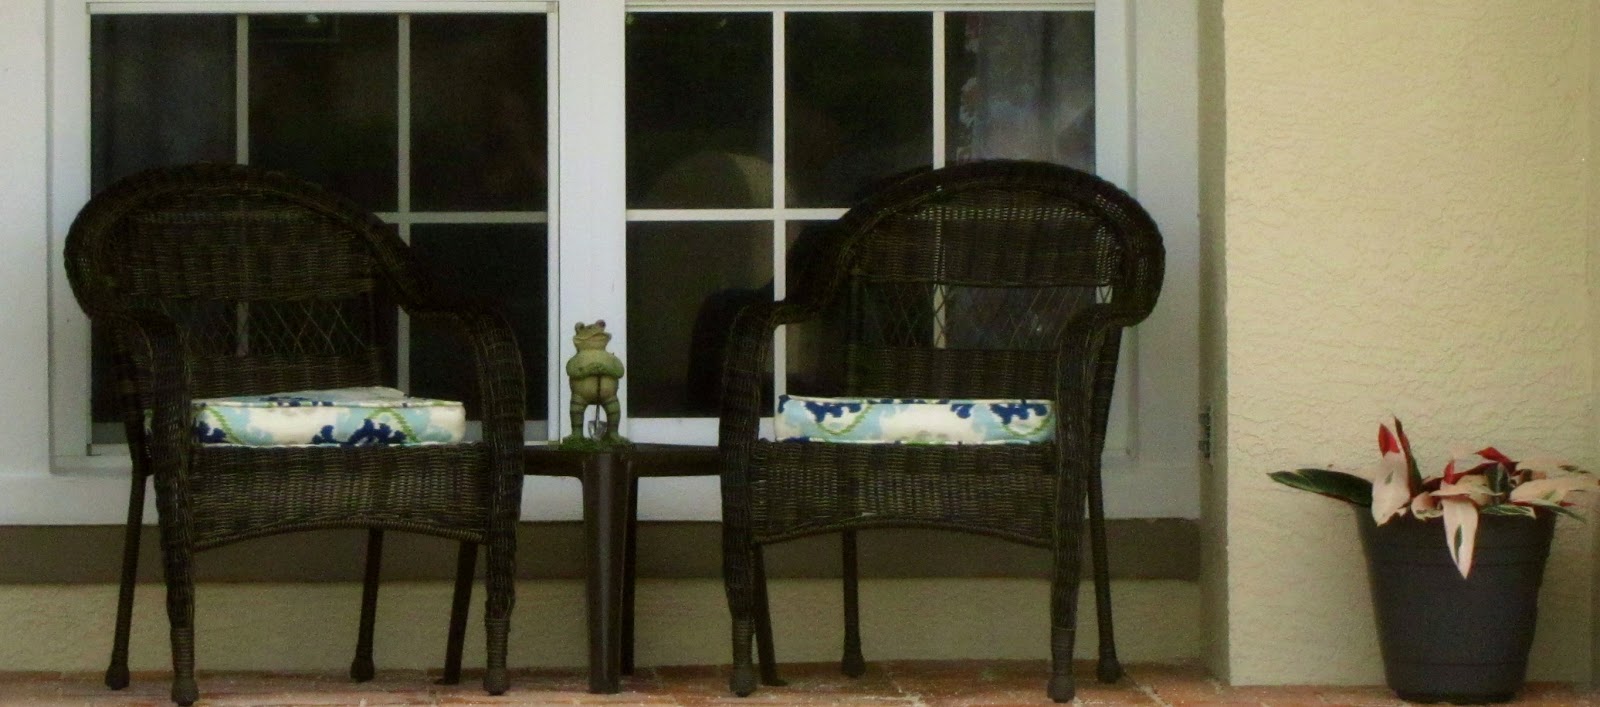
7) Decorate.  I don't have it just the way I want it just yet.  We will likely be adding some lighting above the porch, and maybe a nice wall sculpture.


Notes:  Pavers are heavy.  I don't mean like over time, they are difficult to handle, or maybe you will be sore the next day.  These things are like 40 lbs.  It was quite comedic when we were buying them, and trying to get them through the store, onto the truck and off again.  Not to mention pinched fingers. 

In case you wonder:  The pavers, paver base and sand cost us about $450 for a little bigger than 7x10 area.  The pavers were $4.96 a piece, or $2.68 per square foot. 

I don't regret our decision to do this at all.  Last night we sat out their with my parents, watching Alyssa play through the grass while the sun went down, and the orange blossoms were potent!


One more thing to add.  Over in the opposite corner, we had a sort of straggly plant there.  I have always wanted a Bougainville, but it is super thorny, so we would always be trying to get Alyssa to stay away from it, and pruning can be a bear, not to mention very painful.  I was at Lowes the other day and found this Bleeding Hearts Vine.  It resembles, and will continue to resemble a Bougainville, without the thorns.  Just a little tip from me, because I was excited about it.  The only bad thing is that it is pretty picky.  It doesn't like moist soil, but also doesn't like the sun.  I put it there, because it is the perfect spot, and I'm hoping I can keep it going.  And the trellis that I am using was only $8.  Score!


Tata,
Emily

Friday, February 22, 2013

A Thorn in My Side, and a True Thorn in my Side

I'm so excited for this next month.  As I shared in my last post, we will be overhauling the backyard.  We are putting in a fire pit/living room area, and building a deck for a dining room area.  I have been pinning mosquito repelling plants like crazy so that we can be out there and not become dinner.  But, something that I forgot to mention is that we are also creating a front porch sitting area by our front door. 

One of my dreams of living somewhere that my kids would grow up is to have a front porch so they can play outside in the front with the neighborhood kids.  One of my fondest memories growing up was playing with the neighbors at dusk when the fireflies were out.  My parents were chit-chatting with their parents, and we were just enjoying life, being kids. **Rabbit Trail Alert** Then we would go inside, take our baths for the night and go to bed when our hair was dry. Sometimes we would go to bed when it was still dusk.  I thought it was crazy to go to bed so early, but it must have been comforting, because now, sometimes at dusk, I just want to go to bed while I can still see the light through the blinds, and whisk away to dream land.

Well, that was Ohio.  In Florida, our dusk is only about 10 minutes long, compared to about 3-4 hours on a cooler Ohio summer night.  We also don't have fire flies here.  But, I have made a home here in Florida, so I have to make do with what I have.  I may not have dusk or fireflies, but that doesn't mean that I can't make some of those same memories in this neighborhood with my kids. 

Here is a picture of the house when we first moved in.  Notice the jungle that was our front flower beds.
Those flower beds took months to clear out.  MONTHS!  I was going to try to keep some of it, and just cut it back, but there was a very thick bed of ferns that had to come out.  The more I tried to pull them out, the more I realized how in-the-way the bigger bushes were.  We ended up pulling out absolutely everything and starting from scratch.  We ended up changing the shape of the flower bed, which also took a lot of work. I never realized how strong I could be until I had to dig up 100 pounds worth of bush and ferns out of the earth.  I'm like Wonder Woman, only less 80's.

We have also made a few other changes to the front. We painted the whole house.  It's hard to tell in that pic, but the house was pink.  Everyone in the neighborhood hated it, not to mention that it had been years since it was last done, and there was mildew stains and hard water stains from the irrigation system.  It was really terrible. 

My father in law came a couple weeks ago and installed gutters.  That was a huge blessing, because we had a water fall where we wanted to put the porch, and knew that we would regret laying pavers if we didn't put those up first.

Here are a couple pics of the area that we will be putting the porch.  Please don't judge me for the weeds.  The fact is that we have dug weeds out of that area several times, and there is nothing protecting the ground from them right now.  That will change this weekend.


I will keep you up to date on all of the progress over the next month. 

*******************************************************

I'm going to get serious with you for a minute.  My brother posted this video on Facebook the other day.  I don't care who you are.  If you are a kid, or a teen, or a parent or future parent, you need to watch this. 


Bullying is a real epidemic amongst kids.  I myself was bullied terribly in school.  I have overcome in a lot of ways, but the pain is still real.  Kids these days are killing themselves over what people are saying to them.  It's not something to joke about, and no kid, no matter what they look like, who they choose to love, how much money their parents have or what they did in the past should deserve to be bullied.  Yesterday was an extremely emotional day as I first watched this, then saw in the comments someone try to make light of the bullying situation.  That particular person just happened to be from my past, and someone I associated with my bullies.  When I called him out on it, he basically told me that I deserved it because I didn't stand up for myself.  Needless to say, I was a wreck yesterday. 

I won't keep you any longer but do want to say, please, please pay attention to your kids.  If you think your kids seem depressed, struggling in school, not playing/hanging out with their friends, please talk to them about bullying, because they very well could be a victim.  On the other hand, if you think your child could be a bully, please put an end to it right away. 

Have a kid or teenager in your life?  Tell them why you love them, and how great you think they are.  That could be just what they need that day, or as a reminder for their days ahead.

If you yourself are being bullied, please know that it does get better.  When you leave high school, the people that you were around, will all go their separate ways.  You will grow up.  You will learn who you are, and accept who you are.  They will grow up and mature.  I would have never believed it, but 99% of the people that bullied me, I don't know where they are, or what they are doing this day.  The adult world is so much different.

If you have any questions about bullying, please refer to this website.  It will give you some insight on signs to watch for, plus what to do in the situations. 

Tata,
Emily

Thursday, September 6, 2012

Alyssa's Bedroom Makeover


I don't know who loves her room more, her or me!  I am so pleased with the way it came out.  I knew it was time for her to be in a bigger bed, because she wasn't really sleeping well in her toddler bed anymore.  With the crazy colors that I painted her room, it was really hard for me to find bedding that would go with it.

I found this bedding at Target, and fell in love.  As soon as I saw it, I noticed my favorite color in it which I knew would be the perfect wall color, and it went from there. 

Let me remind you what it looked like before


Not to mention the green marker in areas that you can't see in the pictures. 

And here it is now!


And here are the pictures I wrote about here.


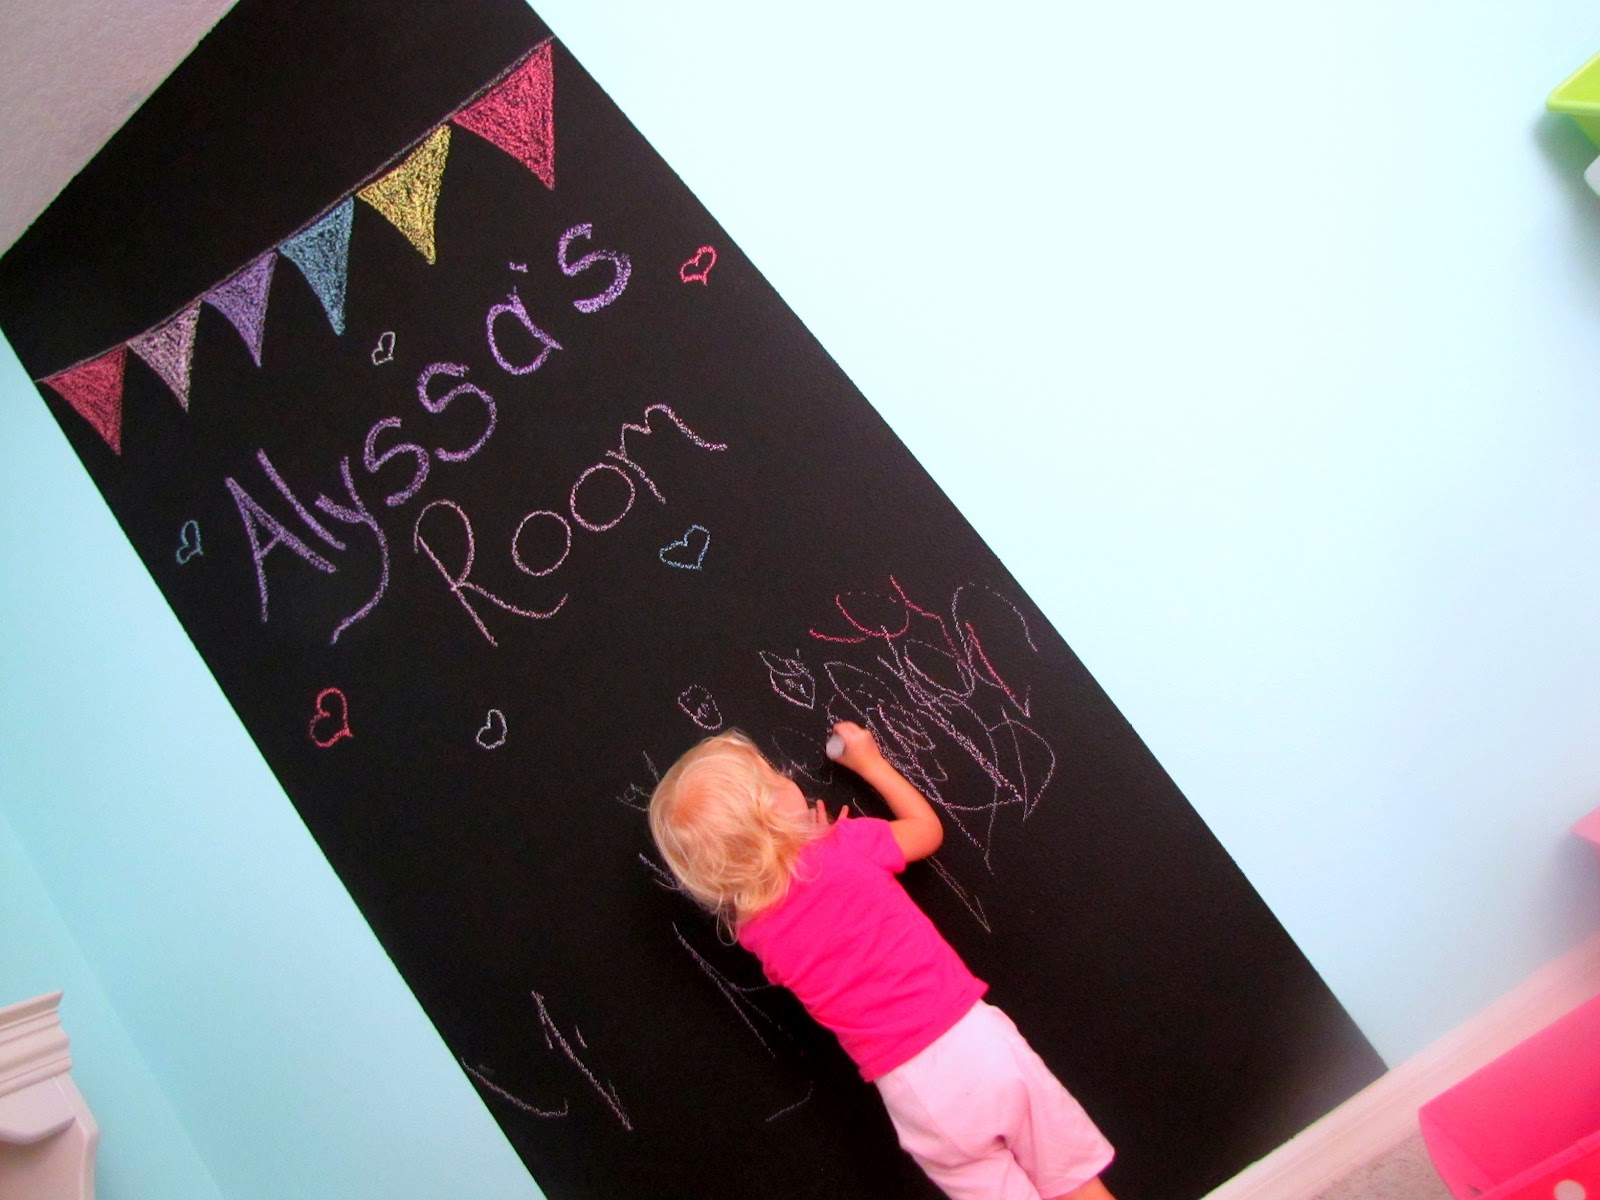
I really knew I wanted the chalkboard wall.  Well, at first I was sort of on the fence about it.  I was afraid that she would think it was ok to write on the walls, but I tell her that she can color on the black all she wants, but no where else.  So far so good, but she hasn't gotten a hold of any markers yet.  And there are just a couple more things I want to do in there, like a picture over her shelf, and one over the other toy box (on the other side of the chalkboard wall.)  But for now, I am loving it, and it will give me something to look forward to doing in there.

As I have said before, that I like to be frugal when I decorate.  You can make a room look amazing for little to nothing.  You may have to do a little searching, but there are cute things out there, that don't cost a lot of money.


So how much did it cost?
 
Click on the picture for a full size- to see pricing easier
 
This whole room cost me $239!


I hope you have enjoyed it as much as I have.  Now on to the Master Bedroom!

Tata,
Emily

Thursday, August 23, 2012

DIY Thursday - Lamp Hack- How to make any Lamp Cordless

This idea is so brilliant.  I can't say that I have a need for it now.  But I am doing Alyssa's room over the next few weeks, and she thinks her lamp is a toy.  Luckily, she has one of the paper one from Ikea, but she still pulls it down and touches the bulb, and I'm afraid one day she is going to break it.  If I can put it up on a shelf, that would help me out a lot!

Head over and read this great tutorial by View Along the Way.  It really is a great, inexpensive DIY trick!  Enjoy

Lamp Hack: How to Make Any Lamp Cordless

 
How to make any lamp cordless

I hope you enjoy her blog as much as I have!  She is hilarious and has some really great ideas!

----------------------------------------------------------------------------------------------------------------------

Come back tomorrow for Flash-Back Friday, where I tell you a funny story about vomit and my first grade teacher!

TaTa,
Emily